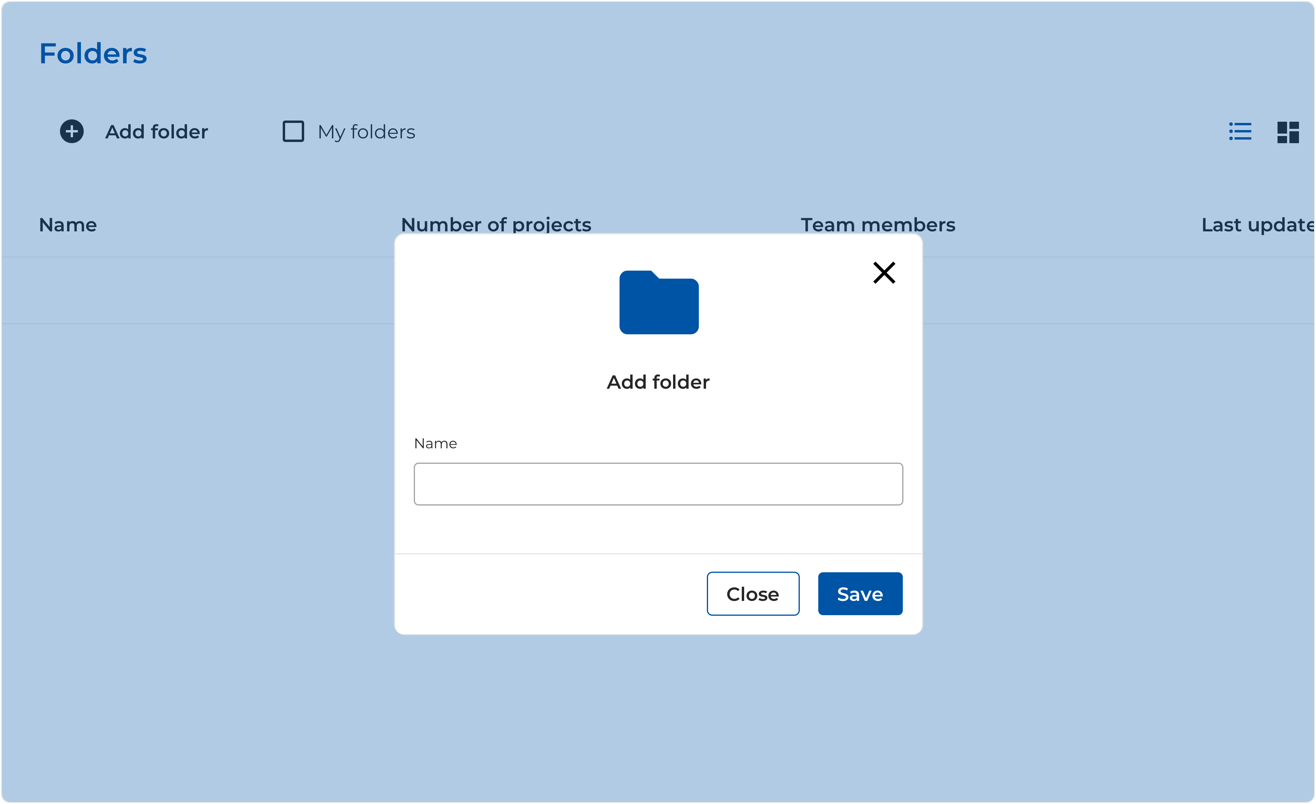
1. Create your project
Create a folder for each project so you keep your different types of user research in one place.
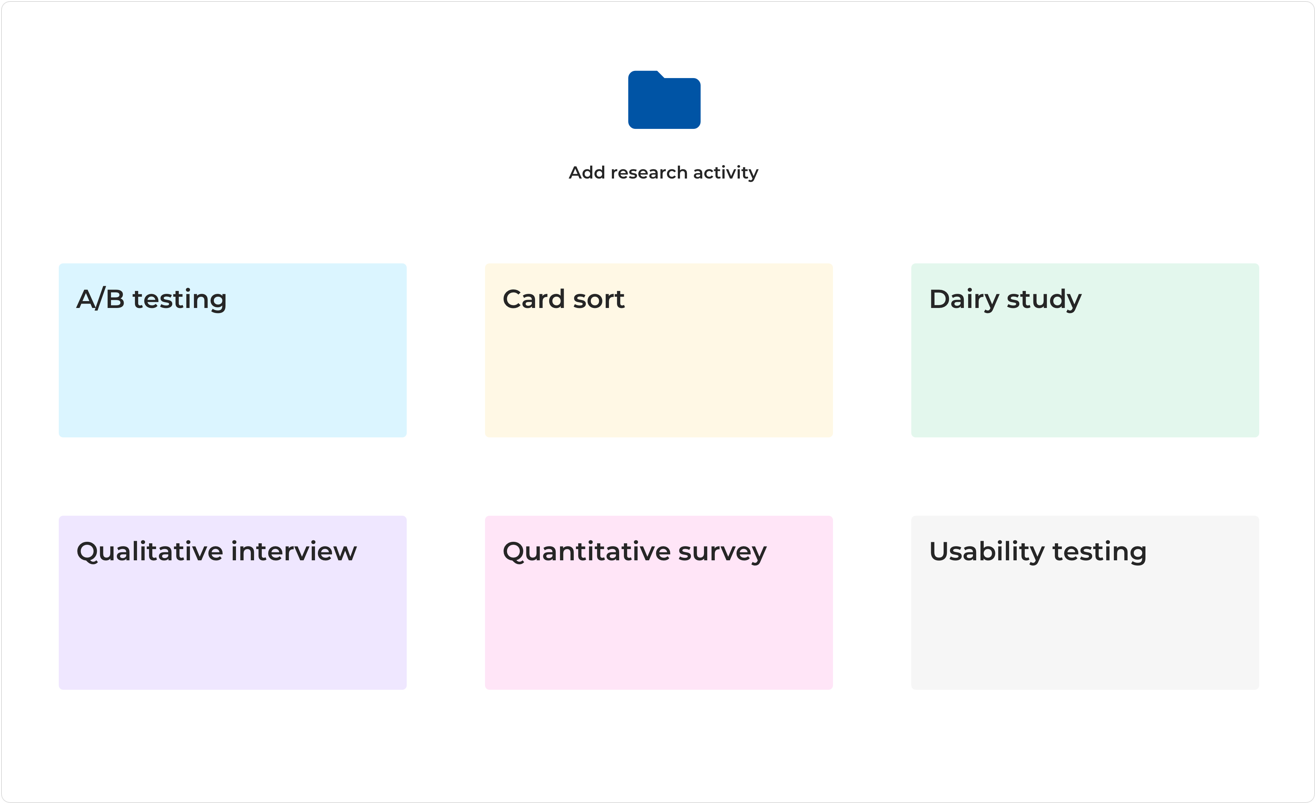
2. Select the type of user research
Use the selection screen to add different types of user research into your project e.g. usability testing.
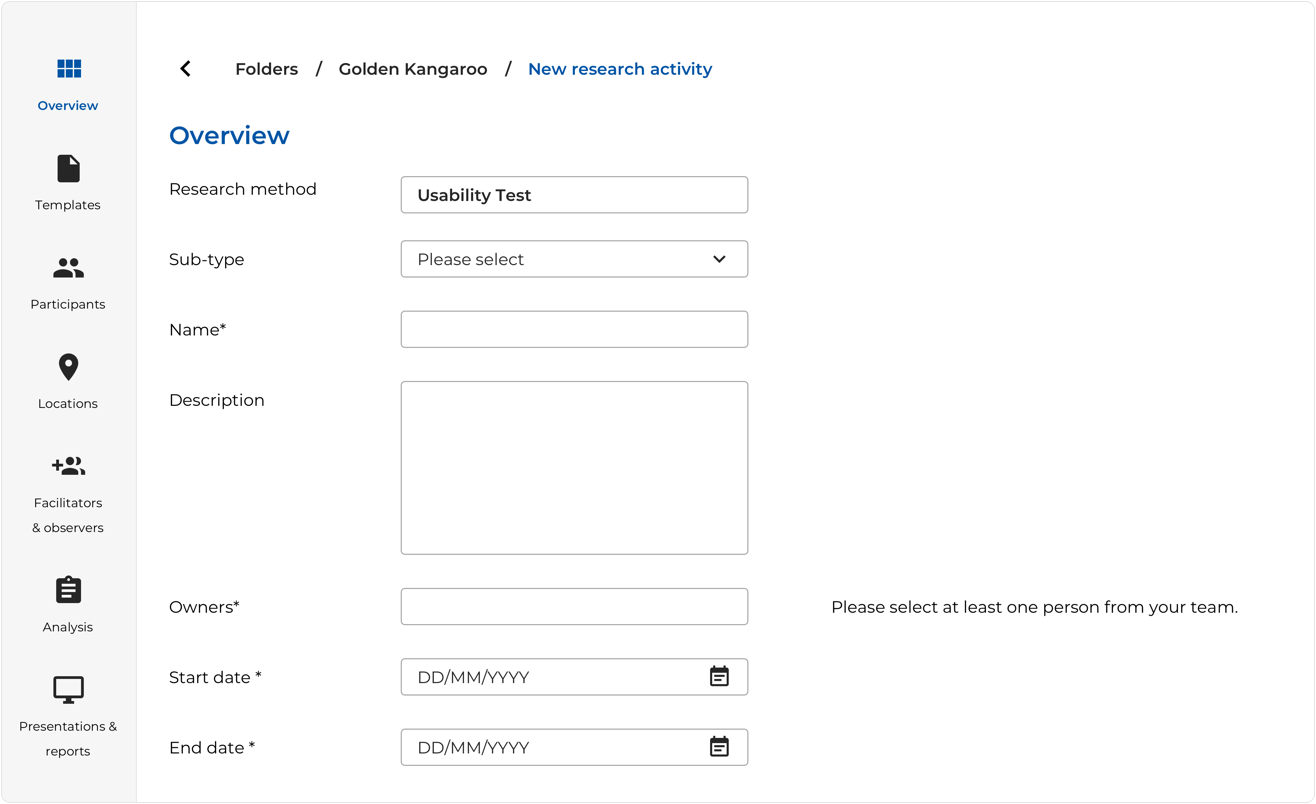
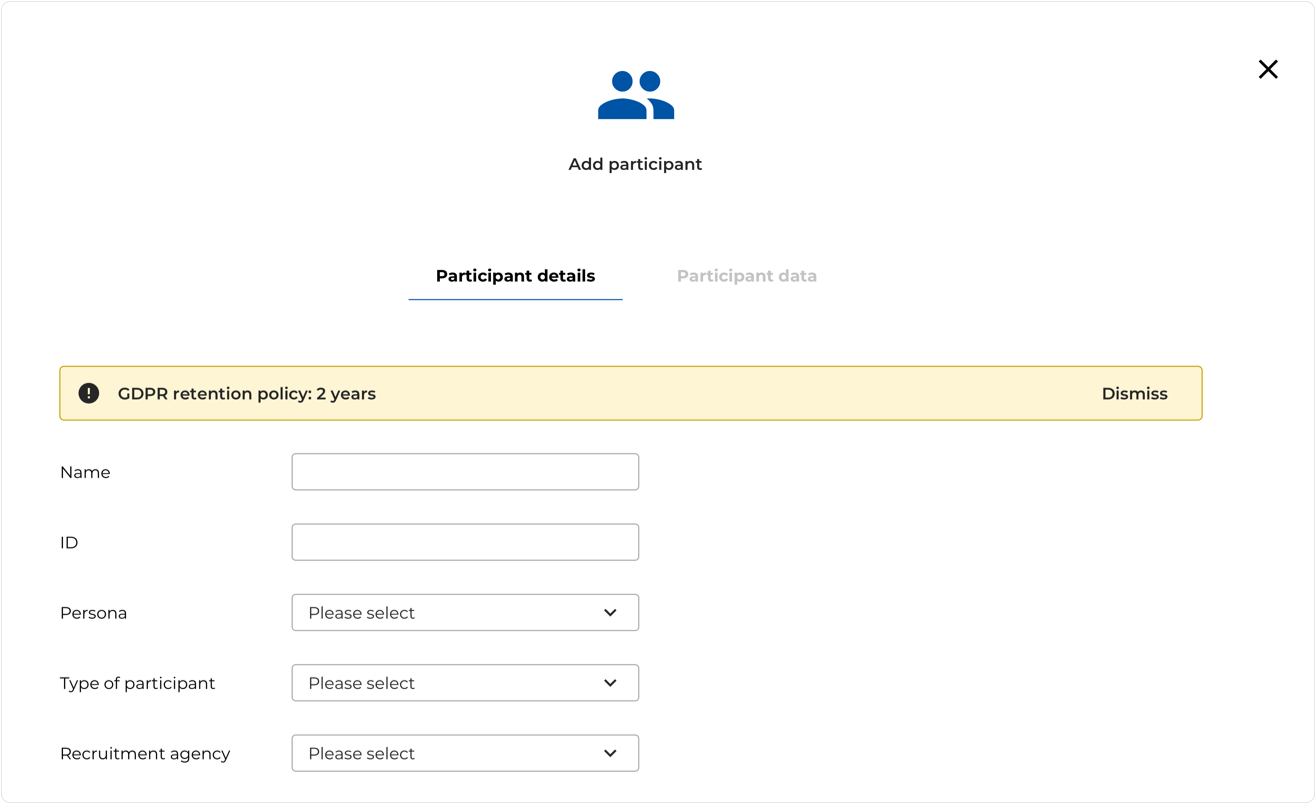
3. Fill in your plans for the user research
Use the step-by-step process to provide information on the user research. For user testing, this includes the project information, potential participants, proposed locations and facilitators & observers.
4. Conduct and update your user research anytime
Update the data and information as and when required. For usability testing, this includes whether the participant attended, incentives provided and adding documents such as signed consent forms and recordings.
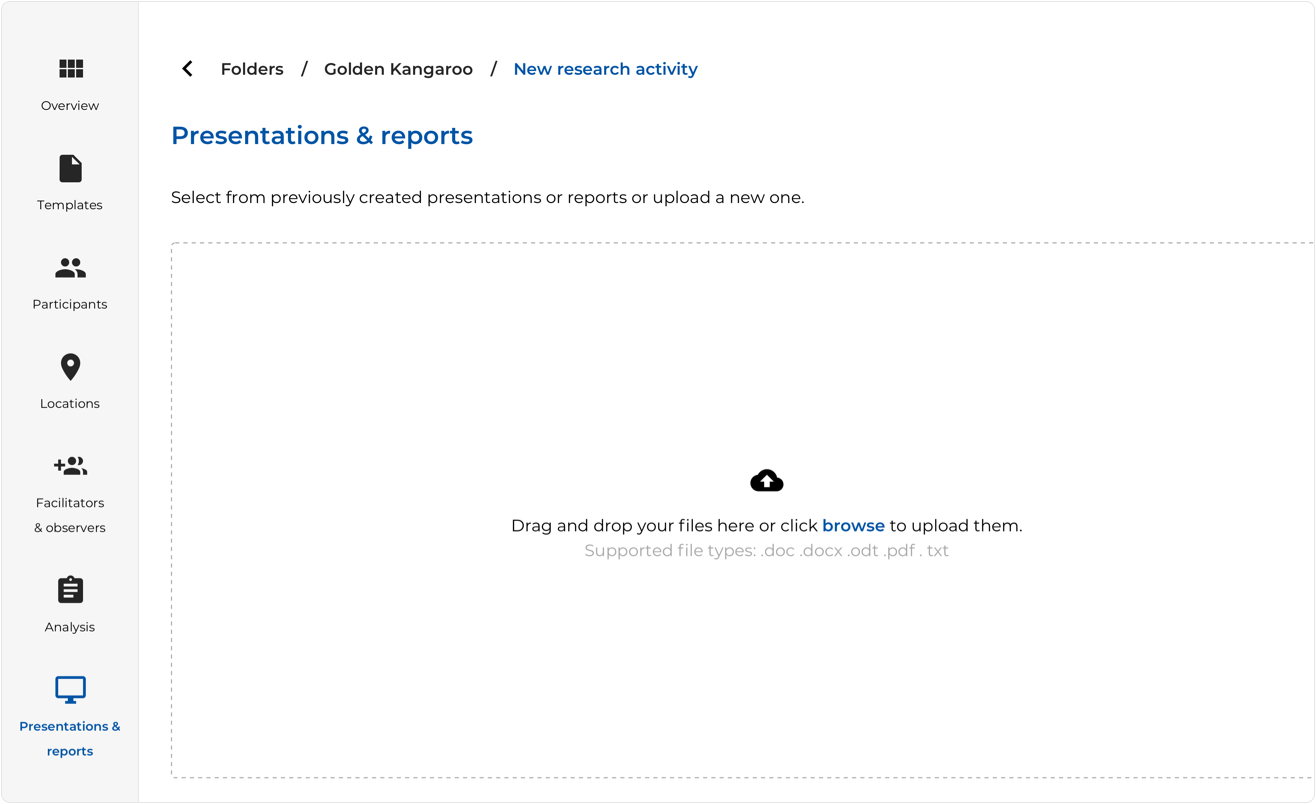
5. Add your analysis and final presentation
Add your analysis and final presentation to each piece of user research or at project level so that your stakeholders have access to it.